by TRA
Stitching
Images to get a Wider View,
Part Two:
Using the Hartblei Pentacon
Six to Fujifilm GFX shift adapter
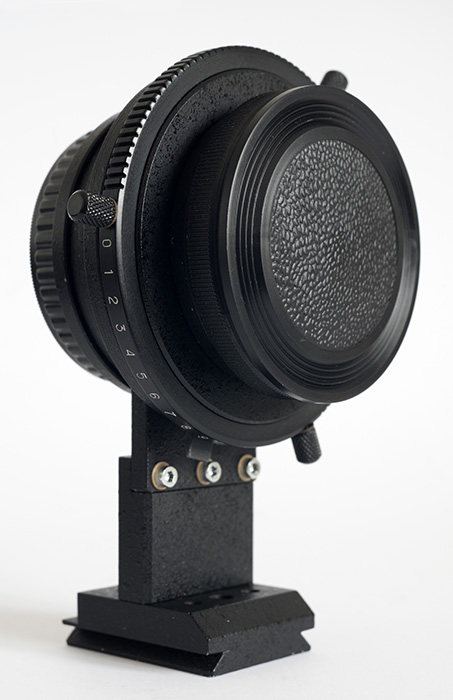
[P6_shift_GFX_01_s.jpg]
This adapter opens up the possibility of using any of the vast range of lenses with the Pentacon Six mount on Fujifilm GFX cameras. For the purposes of this section, we can define two categories of lenses:
- Non-shift lenses
- Shift lenses.
Using non-shift Pentacon Six lenses on GFX cameras via the Hartblei shift adapter
This Hartblei shift adapter has click stops at 15° intervals. One could therefore rotate it at “three-click” intervals, in order to take component shifted images at 45° intervals, as with the highly-sophisticated Hartblei adapter for using Mamiya 67RB/RZ lenses on GFX cameras, as descibed above. The result would be a “cross-shaped” image with extra inserts at each intersection of the “cross” members. See here.
However, for our first stitch test with this adapter, we decided to rotate the shift adapter by two click stops for each shifted image, a rotation of 30°. For this test we used a Bronica Zenzanon 6×6 lens that had been especially adapted for use on the Pentacon Six. We can find further information on that lens here. The resultant stitched shape is as in the following image.
 40mm
Zenza Bronica in P6 mount 1/250 f/11 400 ISO
on Fujifilm GFX50S via Hartblei P6-GFX shift
adapter Benro tripod and ball head
[40mm_Zenza_Pano_30deg_s.jpg] Click on the image here to see it larger (although far from the original size!). Any banding that may be visible in the sky or elsewhere has been introduced by the jpeg compression. |
|
I started by taking a
non-shifted image of what would become the centre
section of the subsequent stitched image. I then shifted 12mm left
and shot my first shifted image for this
series. I then rotated by two click stops
to take the next image, and so on, taking a shifted
image at each 30° rotation interval, thus creating
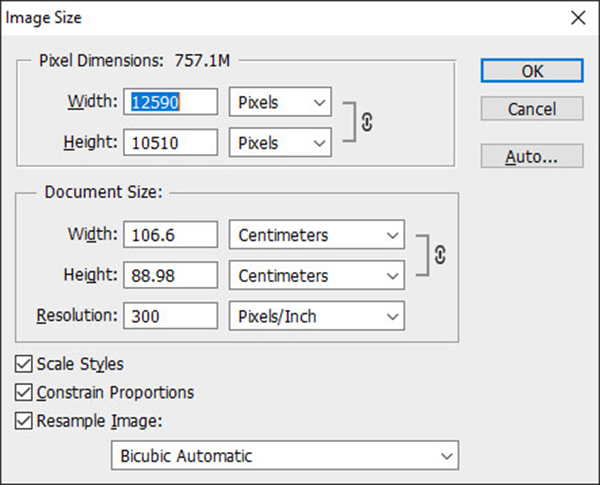
twelve peripheral images. The resultant 13 images were stitched in Photoshop, which in fact did not use any part of the central image for the final stitch. I have not corrected any of the vignetting that can be seen with a few shots, although the Photoshop option to remove vignetting in stitched areas was selected. Stitching thirteen images takes some time and results in an image file of significant size. In my initial tests of the 40mm Zenzanon, here, I discovered that at full shift there was a reduction in resolution at the left and right edges of the images that it produced, and this test confirms that. The 50mm Mamiya ULD lens gives much better results.
|
Image Circles in Reality
Mamiya states that its lenses for the RZ67 series are designed to cover the format 56mm×69.5mm. The diagonal in this case is a little over 89mm and all Mamiya 67 lenses tested so far shifted on a GFX camera fully cover the format, even when shifted 12mm in opposite directions.
The failure of the Zenzanon lens to cover the format with adequate resolution may also account for the vignetting on the outer corner when the Zenzanon lens is shifted diagonally 12mm away from the centre.
An experienced user of shift lenses with GFX cameras comments, “The problem of Zenzanon 40mm (also Distagon 40mm) is that the increasing of coverage would immensely enlarge the lens itself. Therefore optical designers had always a lot of compromises with widest angle lenses of each system. Carl Zeiss went with increasing the optical quality at the edges, Bronica [did not].”
The manual for the Hasselblad FlexBody presents a very interesting diagram on the shift potential of various Carl Zeiss Oberkochen (West German) lenses that were designed for Hasselblad 6×6 cameras:
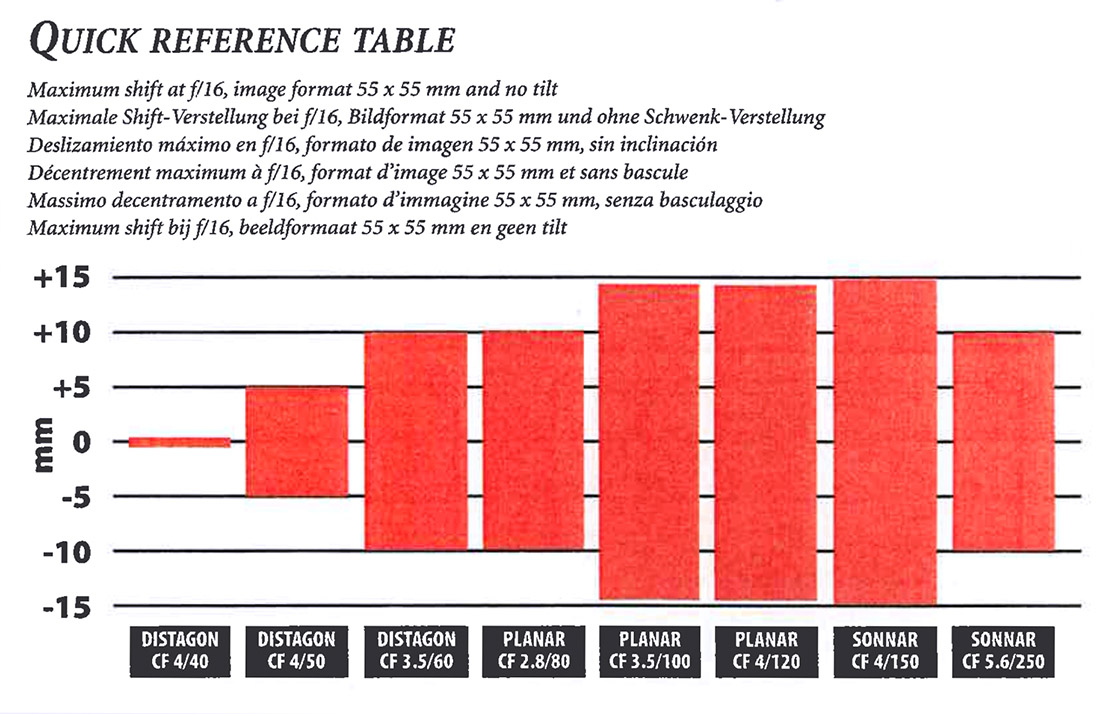
[Shift_potential_CZO_lenses.jpg]
The original can be seen here: http://www.hasselbladhistorical.eu/PDF/HasManuals/Flexbody.pdf (page 1).
We do indeed see that even the Carl Zeiss Oberkochen 40mm Distagon provides virtually NO shift potential.
File Sizes
|
||||||||||||||||||||||||||||||||||||||||||
Getting more information in the corners
Taking a picture at every 30° of rotation produces images with two intermediate “corners” at each intersection of the “cross” members. What would happen if we took a picture at every rotational click-stop on the Hartblei Pentacon Six to Fujifilm GFX shift adapter? Let us find out!
 40mm
Zenzanon in P6 mount, Hartblei P6 to GFX shift
adapter, GFX 50S, Benro tripod & head,
1/250 f/11 200 ISO Picture taken at every 15°
of rotation
This set of pictures was taken the day after the previous example, above, and the lighting conditions were slighty different, with thin cloud intermittently in front of the sun resulting in a reduction in image contrast. This could be corrected during processing, but on this website I normally present images with minimal or no corrections. [40Z_GFX50S_15deg_Pano_s.jpg] |
|
I
started by taking a non-shifted image of what
would become the centre section of the
subsequent stitched image. I then shifted 12mm
left and shot my first shifted image for this
series. I then rotated by one click stop
to take the next image, and so on, taking shifted
images at 15° rotation intervals, thus creating
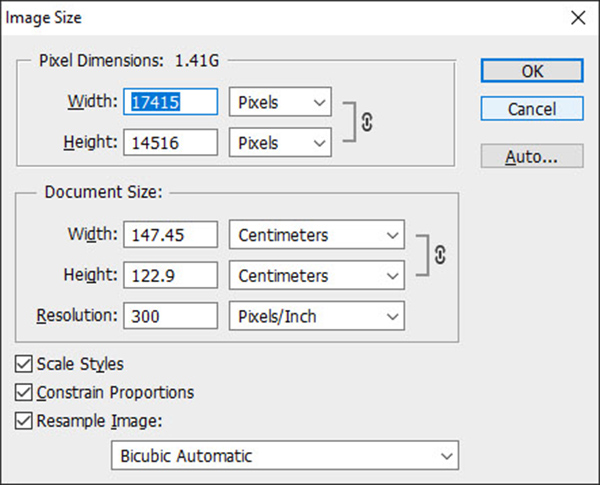
twentyfour peripheral images. The resultant 25 images were stitched in Photoshop, which in fact again did not use any part of the central image for the final stitch. I have not corrected any of the vignetting that can be seen with a few shots, although the Photoshop option to remove vignetting in stitched areas was selected. I took the images used to create this composite with a Fujifilm GFX50S. Given the number of constituent images and the resultant file size, we didn’t dare try it with the Fujifilm GFX100! The computer was struggling enough to process all 25 images used in this stitch. One can imagine taking an infinite number of images, which could cause a gentle curve to be reproduced at each corner, although whether or not most computers designed for individual or domestic use would be able to cope with “an infinite number of images” is a different question. From a distance, the image format looks rather like the earlier generation of cathode-ray tube televisions which were in 4:3 format and did not have square corners (nor particularly straight sides!). The sensor in the GFX cameras does of course have the same 4:3 format, although with straight edges, and square corners in non-stitched images. Click on the image here to see it larger (although far from the original size!). Any banding that may be visible in the sky or elsewhere has been introduced by the jpeg compression. |
File Sizes
|
||||||||||||||||||||
Using Pentacon Six shift lenses on GFX cameras via the Hartblei shift adapter
To achieve stitched images with square corners from shifted images, we have two options:
- only shift on one axis, for instance to widen the image area captured or to increase its height
- use a shift lens on the Hartblei shift adapter.
With the 12mm shift in any direction that the Hartblei Pentacon Six - Fujifilm GFX adapter provides, we can increase the effective sensor width from 44mm to 68mm or the height from 33mm to 57mm. Bearing in mind that the camera can be in horizontal or vertical orientation, the resultant (stitched) image is flexible and can be enormous. An example of this can be seen here (although even greater shifts were used in this example by combining the lens shift and the adapter shift in the same direction). (Scroll down to the images of the yellow railway station.)
Using Pentacon Six Shift lenses on the Hartblei shift adapter
Again, the potential is impressive, but this time we can shift in two directions and still get square corners. As well as the 12mm shift provided by the Hartblei adapter, most of the shift lenses in the Pentacon Six mount also offer a 12mm shift. By shifting the lens on one axis (for instance, to the left and to the right) and the adapter on the other axis (in this case, up and down) one can easily achieve the 3 × 3 format illustrated here.
There is a wide range of 45mm shift lenses available, built using the optical elements of the Arsenal Kiev Mir-26Б lens.
There are two 55mm shift lenses, the Arsat shift and the scarce Schneider-Kreuznach Super-Angulon PCS.
There is at least one 65mm shift lens, based on the Arsenal Kiev Mir-38Б.
To see more on these lenses and reports on most of them, go here and follow the links from that page.