Medium Format Lenses with
the Pentacon Six Mount
A comparative test
by TRA
2000mm lens tests
There are in theory two ways to achieve 2000mm with lenses available
in the Pentacon Six mount:
-
The 1000mm Carl Zeiss Spiegelobjektiv + a 2× converter
-
One of the two standard 500mm lenses with two (“stacked”) 2×
converters
Since any 2× converter reduces the light reaching the film by the
equivalent of two aperture stops, the effective maximum aperture equivalents
with these two options are as follows:
-
The 1000mm f/5.6 Carl Zeiss Spiegelobjektiv + a 2× converter: effective
aperture equivalent: f/11
-
One of the two standard 500mm f/5.6 lenses with two stacked 2× converters:
effective
maximum aperture equivalent: f/22
I have only tested the first of these two options. The results of
this test may indicate whether or not it might be worth trying out the
second option.
Of course, with any mirror lens, stopping down is not available, so
the effective aperture obtained is the aperture at which one must work.
For more information on my approach to analysing coverage, resolution
and colour fringeing, refer back to the introduction to the 500mm-600mm
tests,
here.
Carl Zeiss Jena 1000mm Spiegelobjektiv
+ 2× converter
As mentioned elsewhere, “Spiegelobjektiv” is just the German for “Mirror
Lens”.
Starting off with a maximum aperture of f/5.6 is very helpful if one
plans to use this lens with a 2× converter.
Unfortunately, the final filter in the back of this mirror lens is so
far back that it is not possible to use the Schneider converter, with its
protruding front element. I therefore used the second-best of the
converters available in the Pentacon Six mount: the Arsenal 2× converter.
When we tested this converter with the 500mm and 600mm lenses, we found
that it introduced quite unacceptable vignetting. (See details here.)
For most cameras, with lenses longer than about 300mm, one half of the
rangefinder wedges usually blacks out, making use of the rangefinder for
focussing impossible. I found that with this combination mounted
on the sturdy Berlebach UNI 14 tripod with the Arca-Swiss B1-G head, I
was able to relax and move my eye about the viewfinder until I found a
position from which I could see both halves of the rangefinder wedge.
This facilitated accurate focussing enormously.
Coverage
When the 1000mm Spiegelobjektiv was used on its own, there was slight
darkening in the top corners and along the bottom edge, although probably
hardly extending into the area that would be seen in most prints or mounted
slides. Remember that in these tests I am showing you virtually
the whole of the negative – far more than is seen in prints
or slides, as the enlarger mask or slide mount covers the edges of the
frame.
However, using the Arsenal 2× converter on the 1000mm mirror lens
results in serious vignetting that extends a long way into the image, and
there is also a significant “hot spot” in the central area. If you
plan to use this combination on a “645” format or intend to crop the image
significantly, the vignetting may not be a serious problem for you, but
the combination does not adequately cover the 6 × 6 format.
To avoid the hot spot problem, you would need to use about ¼ of
the image area (!!) – or resort to adjusting the image in software.
However, the aim of these tests is to discover and show what the results
are without subsequent manipulation on the computer or in the darkroom.
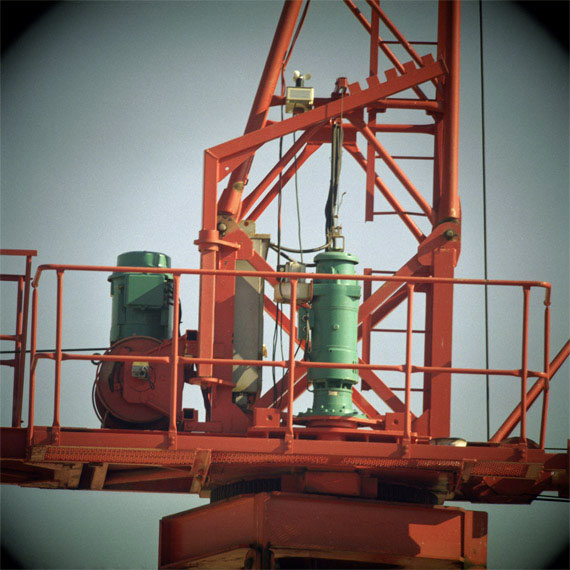
[C443-4]
Carl Zeiss Jena 1000mm f/5.6 Spiegelobjektiv with Arsenal 2×
converter
1/60 MLU 73% humidity
Fuji Superia 100
|
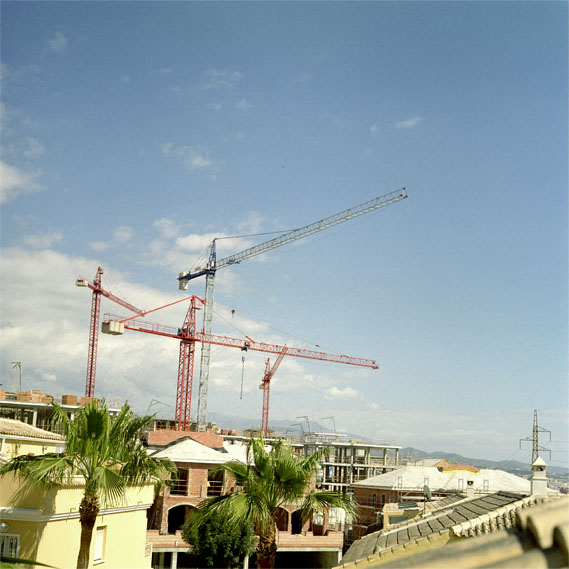
C427-7] View chosen for the 500mm – 2000mm tests
A reminder of the coverage given with the 80mm standard lens.
Compare it with the image on the left, which shows the area covered with
a focal length of 2000mm!
1980s Biometar f/2.8 80mm at f/9.5 1/500
Fuji NPC 160
|
Resolution
The resolution with this lens on its own is outstanding. In combination
with the 2× converter, the results achieved are marginally less sharp
– although one needs to bear in mind the massive degree of enlargement
here, far greater than is ever likely in normal use. We can see the
grain structure of this fine-grained low-speed colour film clearly!
At normal degree of enlargement, the resolution is excellent, in the areas
not affected by the vignetting. The lack of sharpness may be due
to slight focussing inaccuracy – or quite simply, the extremely shallow
depth of field when working with the equivalent of a 2000mm lens.
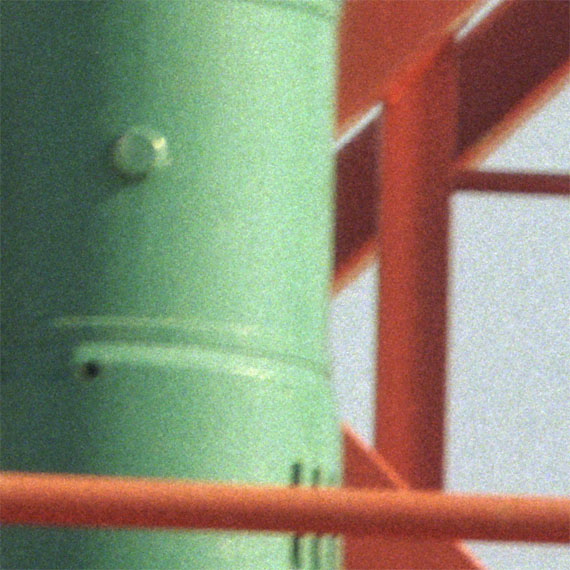
[C443-4r]
Carl Zeiss Jena 1000mm f/5.6 Spiegelobjektiv with Arsenal 2×
converter
1/60 MLU 73% humidity
Fuji Superia 100
|
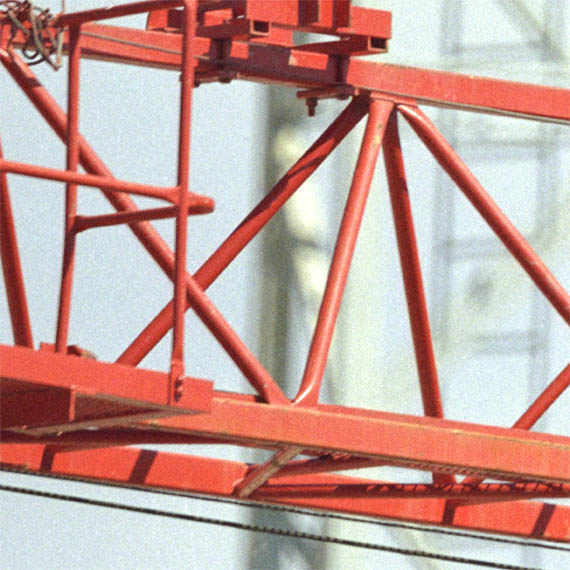
[C427-6r]
For comparison purposes, the central area of a test taken with Carl
Zeiss Jena 1000mm f/5.6 Spiegelobjektiv 1/500 used on its own, enlarged
to the same degree
Fuji NPC160
|
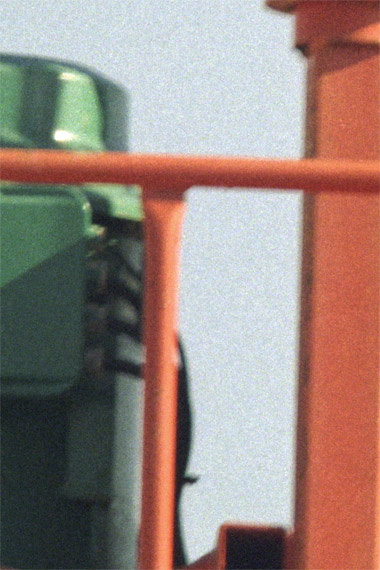
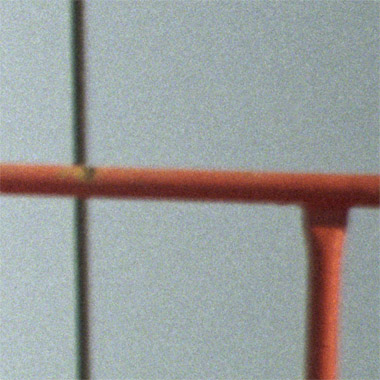
Colour Fringeing
When this lens was used on its own, there was a total absence of colour
fringeing, as is to be expected with mirror lenses. The result was
superb. When the lens is used with the Arsenal 2× converter,
an extremely minor amount of chromatic aberration can be observed at extreme
degrees of magnification towards the edges of the frame. See the
right-hand image, below.
[C443-4cf1]
One third of the way out from the centre to the left-hand edge
(i.e., reasonably central in the image)
|
[C443-4cf2]
Not far from right-hand edge, half way up
Note very slight colour fringeing of the vertical cable
(very faint green tinge on the left and magenta tinge on the right
of the cable)
|
Fuji Superia 100
Conclusion
The extremely shallow depth-of-field and consequent difficulty in focussing
with total accuracy lead me to conclude that working with a 2000mm lens
is not a realistic option.
Although the colour fringeing is minor, its total absence from images
taken with the mirror lens on its own confirms that it is entirely due
to the Arsenal 2× converter.
The serious vignetting and the significant central hot spot that arise
from using the Arsenal 2× converter with this lens (and a number
of other longer lenses!) show that this combination is not a viable option.
In my opinion, it is better to use the 1000mm lens on its own and, if necessary,
enlarge the central portion of the image captured on the film.
For the next section, the results of using this combination for moon
shots, click here.
To go back to the beginning of the lens tests, click below and then
choose the focal length that you want to read about.
Back to beginning of lens tests
Home
© TRA March 2008, Revised March 2013


