by TRA
The FAN-1 lens
converter
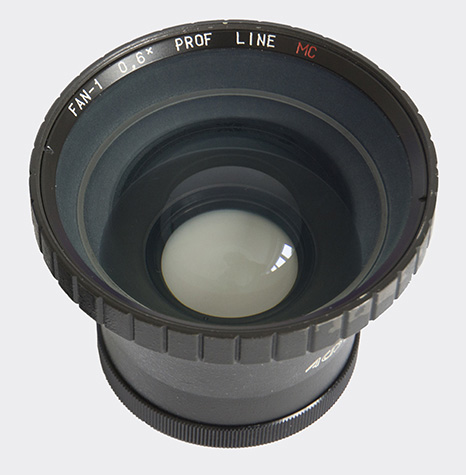
[fan1crp_s]
The FAN-1 lens
converter

[fan1crp_s]
|
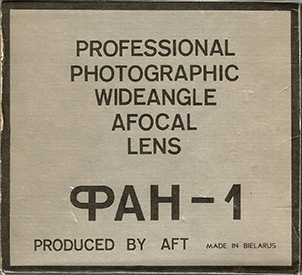
The Fan-1 is supplied by the manufacturer in a light-weight cardboard box that is not quite strong enough to take the weight of the accessory. (Note the crumpled state of the thin carboard.) The top of the box states:
|
 [fanbxtop] |
|
For those with limited Russian, a translation into English is on the side: |
 [fan_eng] |
|
The
cover of the accompanying manual states:
|
|
One side of the box shows the effect:
|
(Note that the Russian captions state "With FAN-1" and "Without FAN-1". The
English-language vocabulary of the person charged with
translating this into English cannot have been this
extensive, as "With" becomes "Yes" and "Without"
becomes "No". However, we might even have
understood the meaning of the picture without any
text!)
|
|
The square image in the illustration is a pointer to the use for which the Fan-1 was designed: to cover the 6ื6 (2ผ square) film format. The specification states that it should be used with an 80mm lens:
The specification also tells us that the front of the Fan-1 takes filters with 93mm diameter and 0.75 pitch. |
|
The resolution chart in the
manual reveals that the lens with which the Fan-1 was
designed to be used was the 80mm Ukrainian Volna-3B,
which was supplied as the standard lens with the Kiev 60
camera. |
|
The manual indicates that
mounts were available (or at least, envisaged) for
lenses with front filter threads of 52, 55, 58, 62 and
67mm and in the Rolleiflex bayonet: |
|
The manual also suggests using
the Fan-1 on a slide projector or an enlarger. |
|
The
Fan-1 that I received came with front and rear
caps. No lens
hood or shade was supplied. 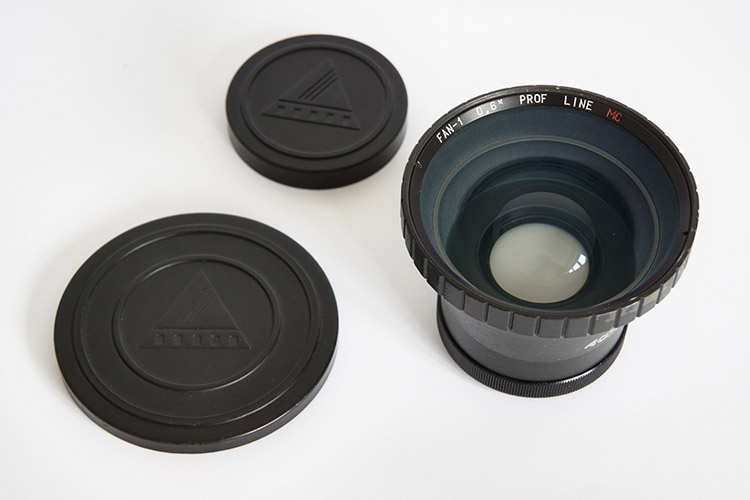 [fan_01] |
|
It also had the 52mm and 62mm mounts
An internet search did not bring up any
information on this accessory, so in order to use it
on the Biometar lens I bought a 58mm-62mm step-up
ring. Naturally,
that moves the Fan-1 slightly further forward than if
the manufacturer's 58mm ring were available, which would
of course be used on its own. However,
the step-up ring is slim, and exact distances with
front-of-lens accessories are generally not critical. As
the FAN-1 was designed for use with various lenses, this
does indeed appear to be the case. A slight inconvenience: when I leave the 58-62mm step-up ring on the back of the 62mm mount, the rear lens cap falls off. |
|
As the
combination of the Fan-1 and an 80mm
lens results in an effective focal
length of 48mm, the obvious lens with
which to compare it is the 50mm Carl
Zeiss Flektogon. It
could of course also be compared with
either of the 45mm Arsenal or Arsat
lenses, the common Mir-26B and the rare
Mir-69B.
According to the
specification, it is fractionally
less wide than the two Mir lenses. 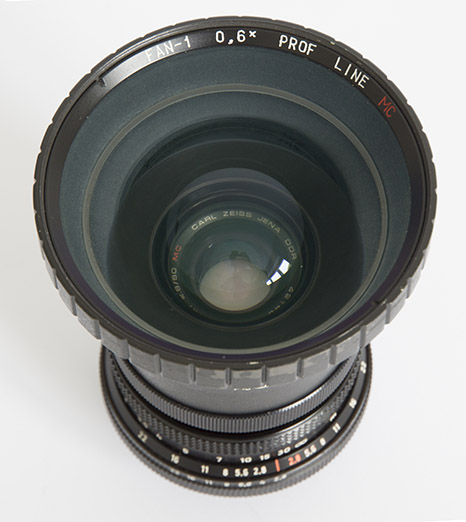 Here the Fan-1 is on an 80mm Biometar [fan_03] |
|
To give an idea of size, here it is on the
Biometar (on the right), with a 50mm Flektogon
beside it (on the left). 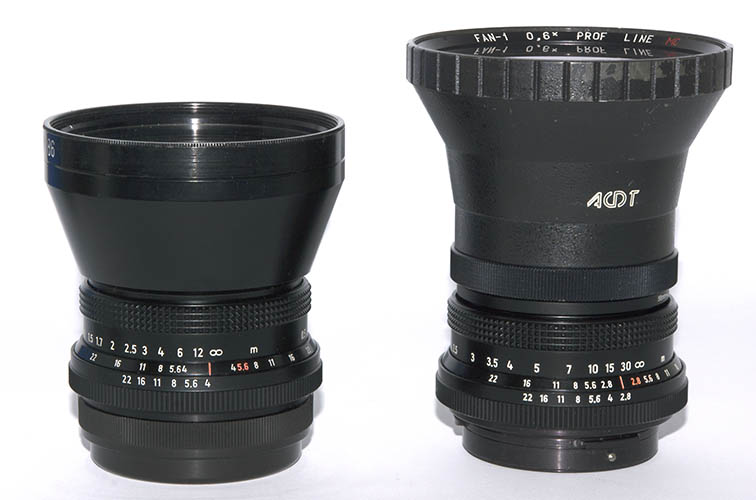 Note that the FAN-1 appears to be finished with a coat of black paint, which is coming off where the front lens cap rubs against the edge. [fan_06] While the combination of Biometar and
Fan-1 is larger than the Flektogon, the total
size and weight is less than taking both the
Biometar and the Flektogon on a photographic
outing.
|
|
Finally, here is what the Fan-1 looks
like on a Pentacon Six. Again,
the Flektogon is on the left.The
Fan-1 that I received came with front and rear
caps. No lens
hood or shade was supplied. 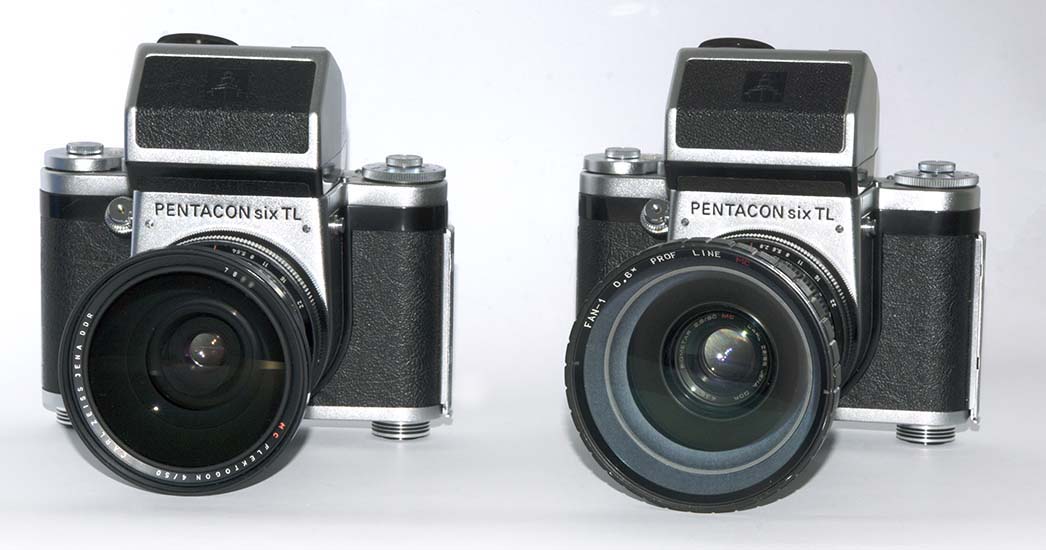 [fan_07] |
Test results
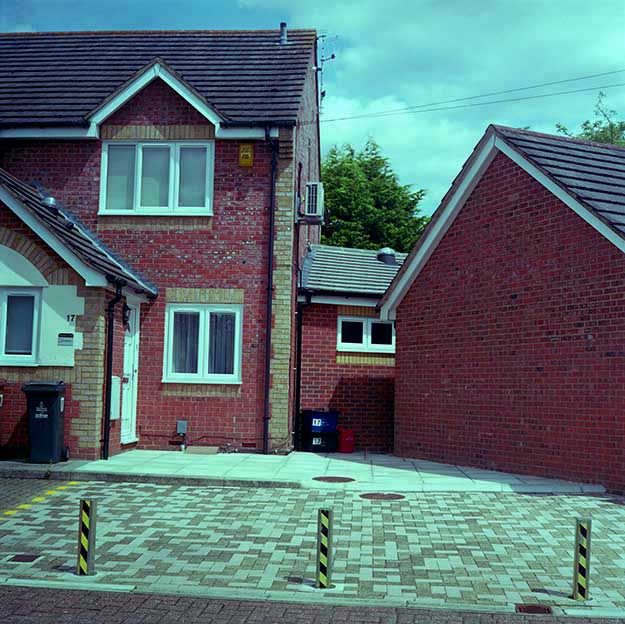
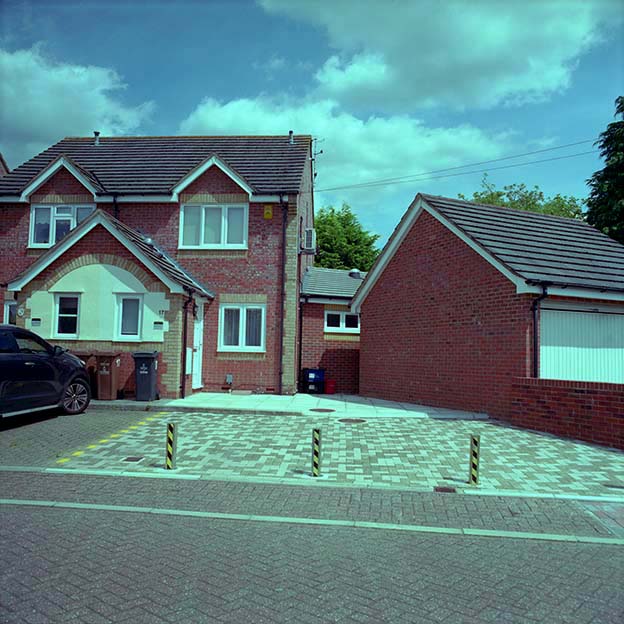
All the following images were shot on my usual Pentacon Six TL, with Fuji PRO160NS negative film. The lenses were set at f/8 and the exposure was 1/500. A tripod was used and the images were scanned with an Epson Perfection 750 PRO at 6400 dpi using VueScan software.
Coverage (angle of view)
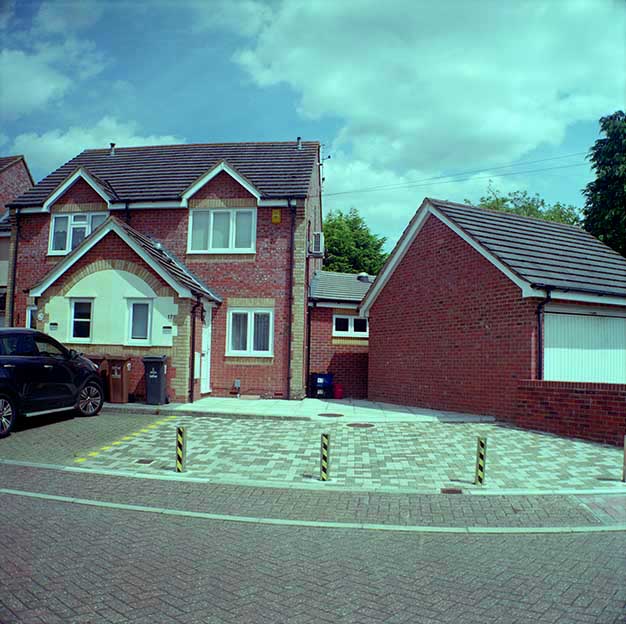
The FAN-1 does genuinely seem to give the angle of view advertised, and the coverage is a tiny bit wider than with the 50mm Flektogon
[C532-16s]
[C532-13s]
[C532-14-15s]
Colour balance and contrast
When the FAN-1 is used, there is an extremely
tiny colour cast, compared with the
80mm Biometar lens on its own,
with the image taken with the FAN-1 having a hint more
pink. No difference of contrast is
distinguishable. So far, very good.
Resolution
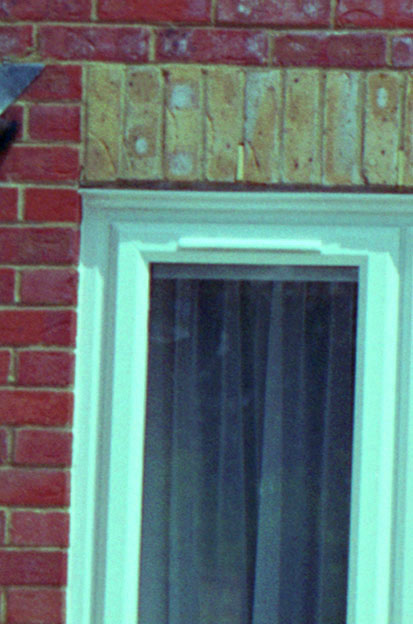
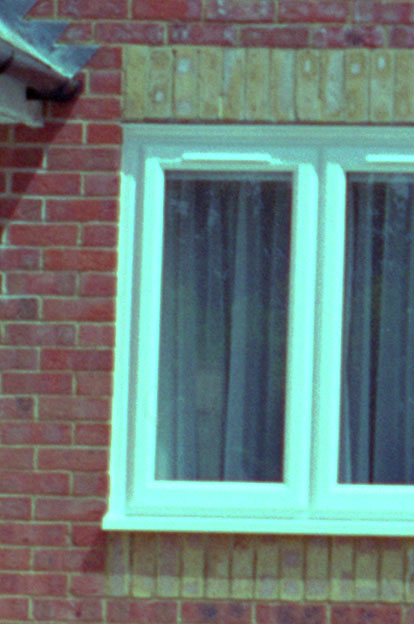
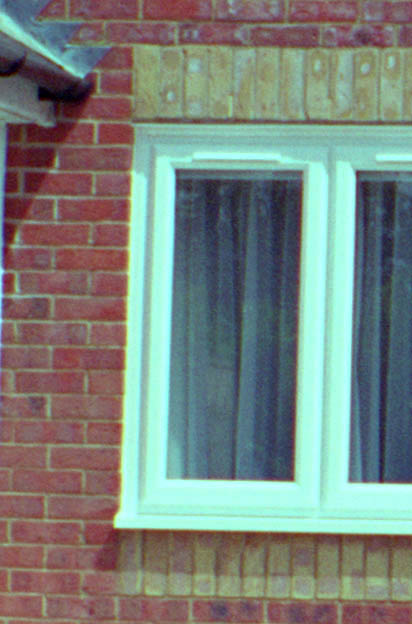
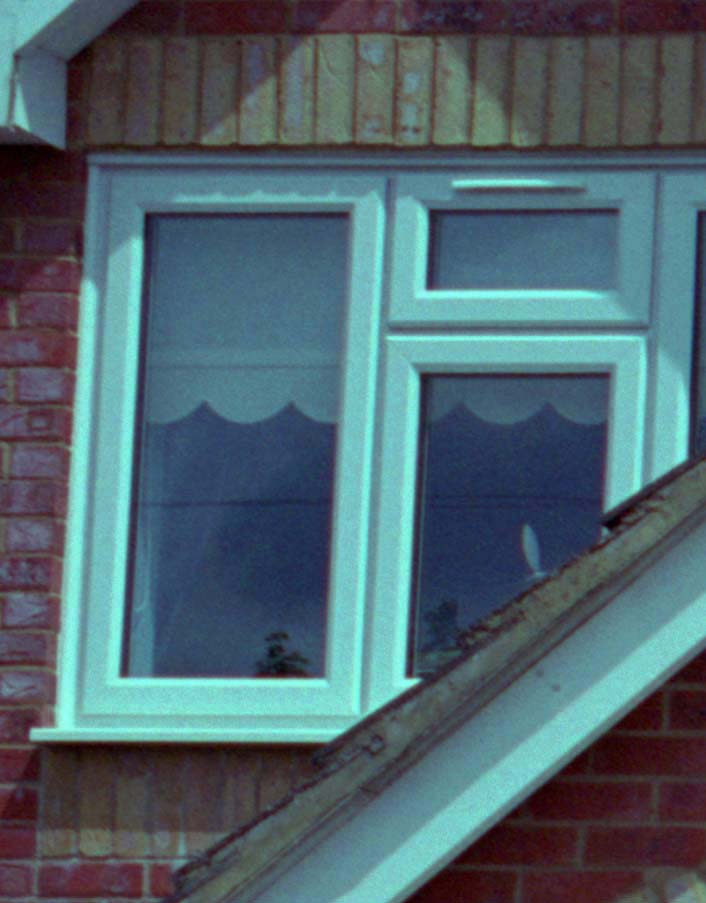
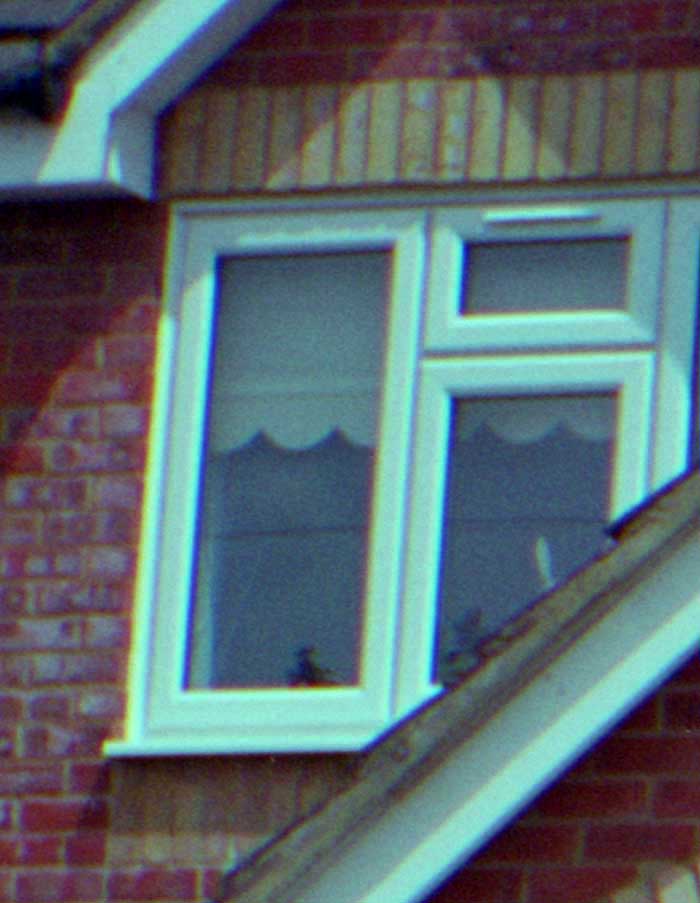
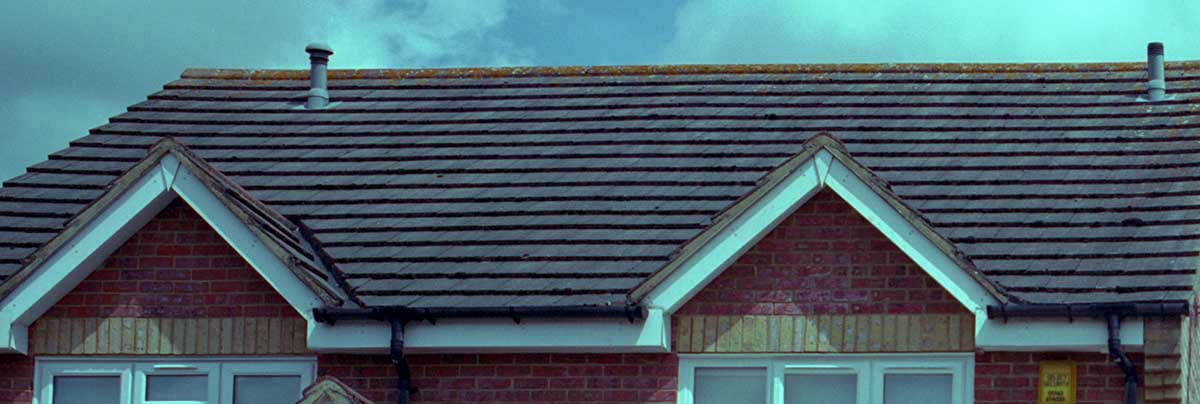
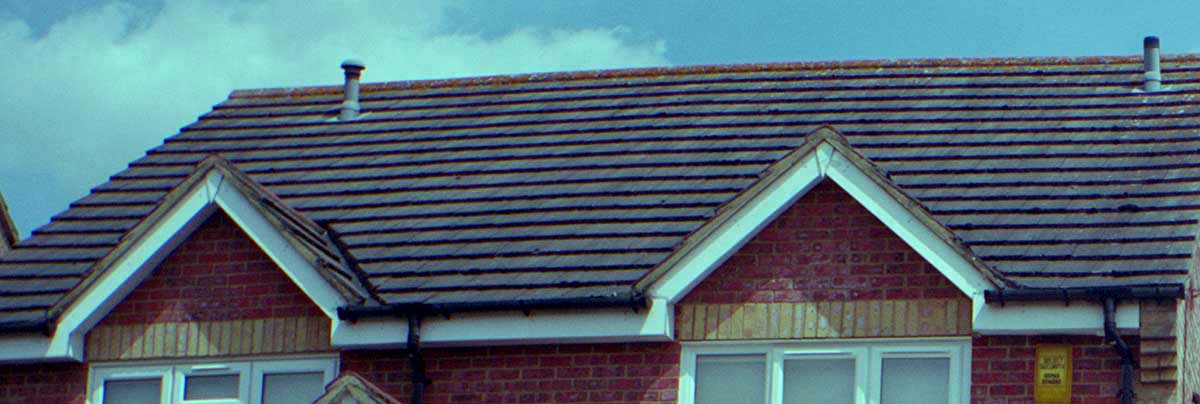
| There is a very slight loss of resolution in the centre of the image, compared with the Biometar on its own, or compared with the 50mm Flektogon, and a tiny hint of chromatic aberrations (colour fringeing) see brickwork to left of ground floor window. |
 80mm Biometar on its
own
[C532-16lw] |
 50mm Flektogon
[C532-13lw] |
 80mm Biometar + FAN-1 [C532-14-15lw] |
As is usual on this website, I
have made the tests extremely demanding, and these
differences are so minor that they would not be
visible at normal degrees of enlargement of the
whole image.
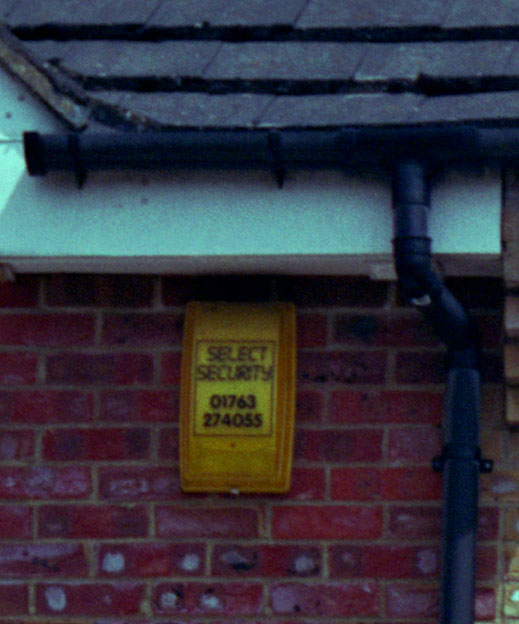 80mm Biometar on its own
[C532-16ba] |
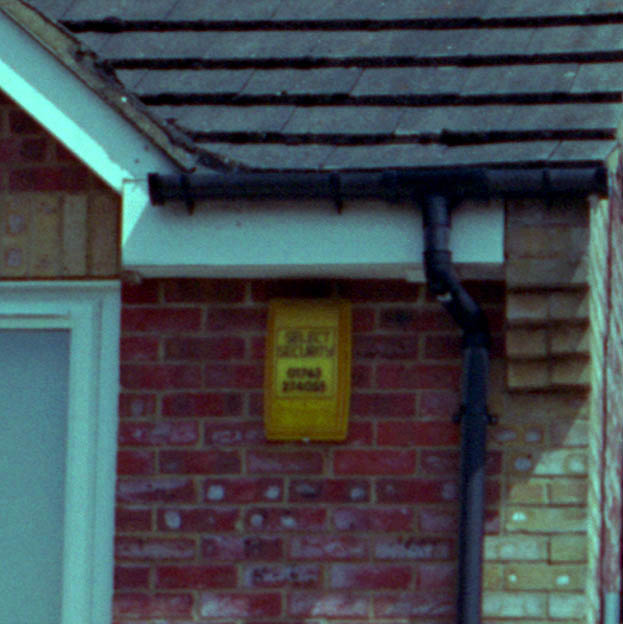 50mm Flektogon
[C532-13ba] |
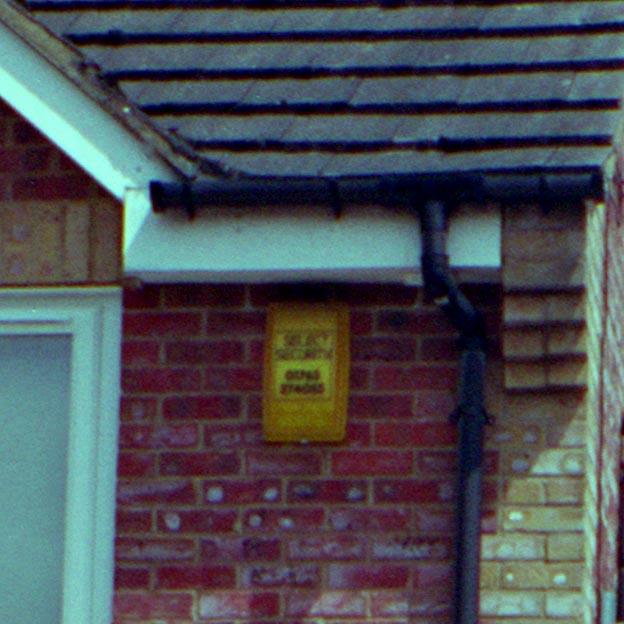 80mm Biometar + FAN-1 [C532-14-15ba] |
| However, if you look back to the images
of the whole of the frame, you will see how tiny the
burglar alarm is within the image, so in fact in all three
pictures the results are extremely good.
We are here magnifying a tiny portion of the image
massively. The result with the Biometar on its own
is indeed outstanding. |
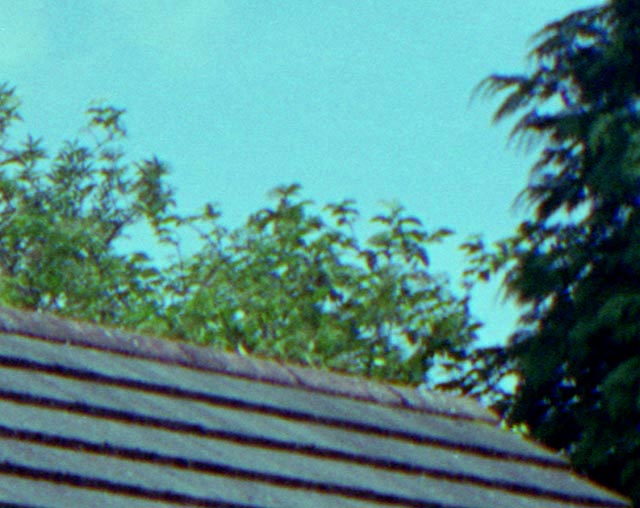
At the edge of the frame, the resolution is, unsurprisingly,
marginally poorer still. See
garage roof tiles and trees.
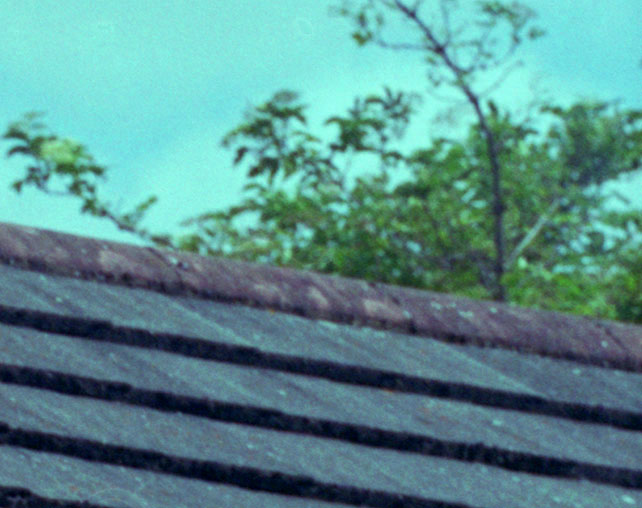 80mm Biometar on its own
[C532-16grt] |
 50mm Flektogon
[C532-13grt] |
 80mm Biometar + FAN-1 [C532-14-15grt] |
| Again, however, the resolution even
here is remarkably good. The depth of field (the
area of sharp focus) decreases as the focal length
used increases, and it would appear that in the case
of the 80mm Biometar, the garage roof and the trees
behind it were beyond the area covered by the depth of
field, so the lack of sharpness here does not indicate
a lens defect. I normally shoot at f/11, but for
these pictures I used f/8. For architecture
(and, indeed, many landscape shots, too!), f/16 would
be preferable. Using that smaller aperture would
have increased the depth of field and would probably
have brought the garage roof and the trees into focus. |
 50mm Flektogon
[C532-13lhw] |
 80mm Biometar + FAN-1 [C532-14-15lhw] |
 80mm Biometar on its own [C532-16lhw] |
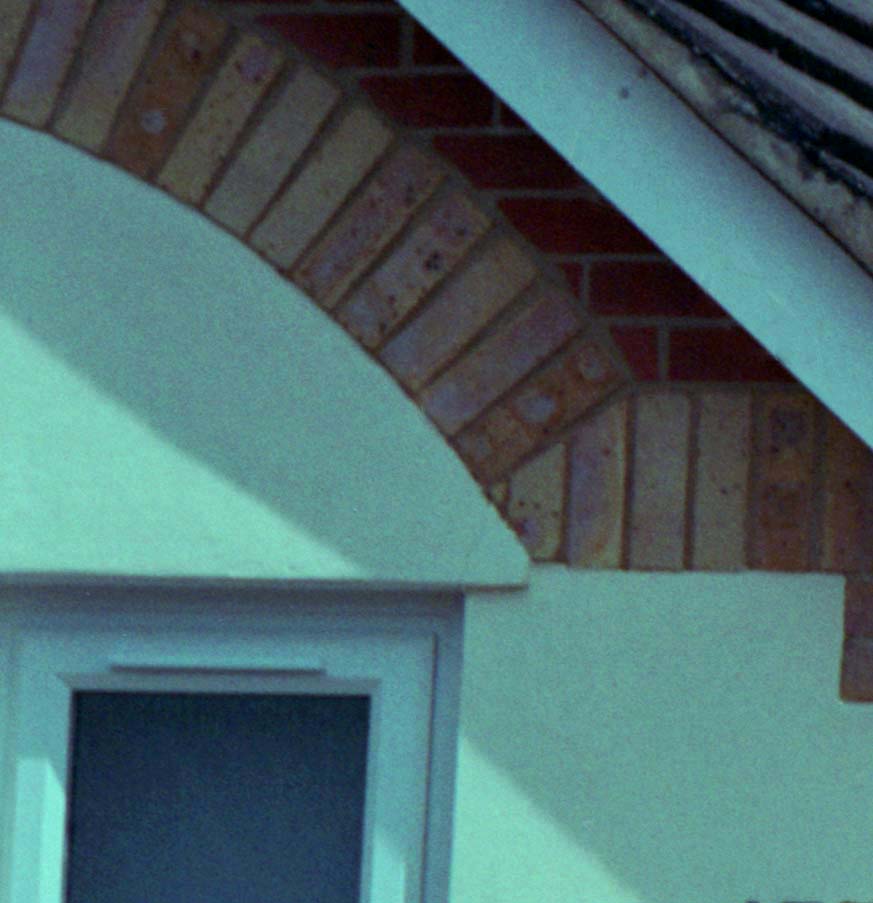
The top, left-hand window is not
visible in image taken by the Biometar on its
own. Here, for comparison, is the far
left-hand edge of the Biometar image of a
ground-floor window. It is at the boundaries
of the white window frame that any colour fringeing
will be most easily seen, if it is there. With
the Biometar, there isn't any! |
|
Distortion Straight lines are rendered straight with the Biometar, and also with the Flektogon. However, the FAN-1 introduces
significant barrel
distortion.
This is a common problem with
wide-angle lenses, but it is still disappointing. We
do of course realise that these days barrel distortion
can be reduced, and possibly even eliminated, with
software, but the purpose of the test is to see what
this lens produces.
 [C532-13kb] Flektogon
|
[C532-13rf] Flektogon
|
For images that include
architecture, as in this test, or with other
significant straight lines, I think that I would avoid
using the FAN-1. If
I wanted to travel light out into the countryside, I
might put it in my bag instead of taking the 50mm
Flektogon or 45mm Mir-26B. However,
I would be more likely to take the small 45mm
Mir-69! (See here
-- scroll down) |
Footnote
Out of curiosity, I shot the same
image with a 65mm Flektogon (zebra style). Given the
criticism of this lens that is sometimes encountered, I was
extremely pleased with the results:
No colour fringeing, no distortion, but high resolution and
high contrast.
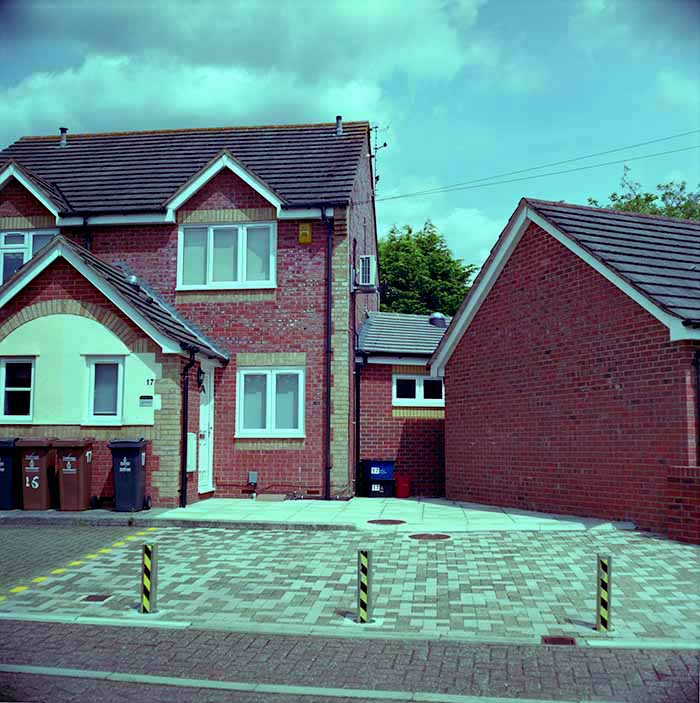
[C532-17]
65mm Flektogon
The lens here had a slim-line UV filter fitted, on front of which was the CZ lens shade that was designed for this lens (but which is often sold with the claim that it is for the 50mm Flektogon!).
There is slight vignetting in the
corners and I wonder if this has been caused by putting the
lens shade on the front of the filter. For more on lens
shades, see here.
For more on the 65mm Flektogon, see here.
Back to beginning of lens tests
ฉ TRA July 2015 Latest revision: January 2016